The Birthday Cake My Grandpa Made for Every Celebration
Some recipes come with instructions. This one comes with a memory.
My grandpa, who I called Ye Ye, made this cake for every birthday in our family. Every single one. It was never the most elegant cake on the table. It wasn't decorated with anything fancy or styled to look a certain way. It was just there, every time, made by his hands, for the people he loved.
I can still picture his patio. There was a table where everything happened. Apricot jam. Dumplings. And this cake. That table was the center of so many moments I carry with me.
What I remember most is the smell. The batter warming up, and the sound of their old hand mixer running. That warm motor smell it gave off. Those two things together are my childhood. They're what this recipe holds for me.
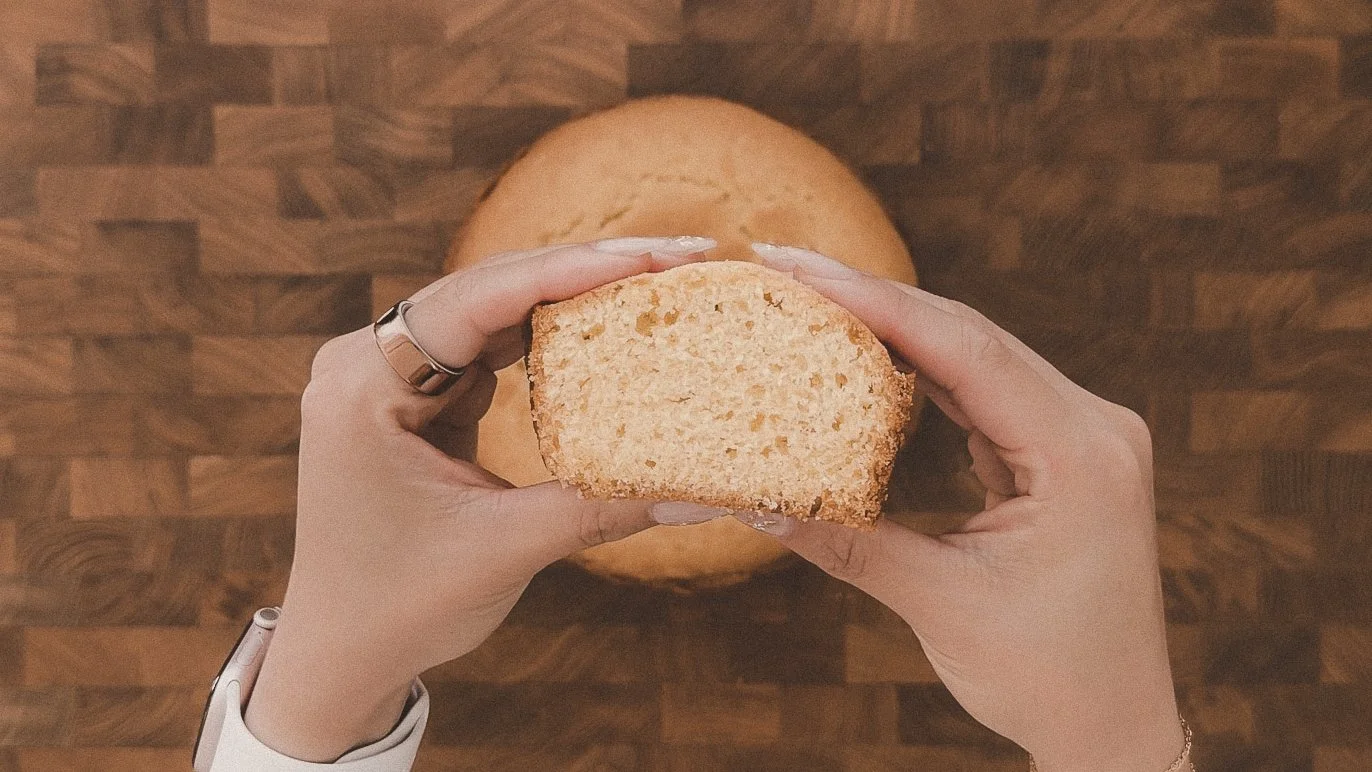
This cake isn't the most sophisticated thing I've ever baked. It sits somewhere between a chiffon cake and a butter cake. Light and airy from the egg whites, warm and rich from the butter. Simple. No frills. But it's the one that means the most to me because he made it on the days that mattered.
I finally made it from memory. And I'm sharing it here so maybe it finds its way to your table too.
A Note on This Recipe
Before you start, a few things worth knowing.
This cake uses a technique borrowed from chiffon and angel food baking. The egg whites are whipped separately and folded into the batter at the end. That's what gives the cake its lift. It's a little more involved than a standard butter cake but it's also more forgiving than it looks, and the result is worth every step.
You'll also notice the lemon here is a supporting note, not the star. Half a tablespoon of zest and one tablespoon of juice. Just enough brightness to lift everything else without taking over. This is a butter cake at its heart. The lemon just makes it a little more alive.
Ingredients
Serves 8 | 350°F | 25 to 30 minutes
For the Cake
2 cups all-purpose flour
1 cup sugar
1/2 cup unsalted butter, softened to room temperature
4 eggs, separated (all 4 whites, only 2 yolks)
1 tsp baking powder
1/2 tsp baking soda
1 tbsp fresh lemon juice
1/2 tbsp lemon zest
1/4 cup milk
1/4 tsp salt
For the Lemon Glaze
1 cup powdered sugar, sifted
2 to 3 tbsp fresh lemon juice
1/2 tsp lemon zest
The Process
Step 1: Prep your pan Preheat your oven to 350°F. Butter your pan well before the batter goes in. A light batter like this one sticks more than a dense one. Take a moment to do this one right. A 9-inch round pan works best. A 10-inch will give you a slightly flatter cake. A bundt pan works beautifully too if that's what you have.
Step 2: Separate your eggs Separate all 4 eggs. Set all 4 whites aside in a clean, dry bowl. You'll only use 2 yolks for the batter. Set the other 2 aside for something else. This part matters more than it seems. Even a tiny drop of yolk in your whites will stop them from whipping properly. Clean bowl, clean beaters, no shortcuts.
Step 3: Cream the butter and sugar Beat the softened butter and sugar together on medium-high speed for 3 to 5 minutes until the mixture looks almost white and feels noticeably fluffy. Most people stop too early when it still looks pale yellow and grainy. Keep going. That change in color and texture is air going into your batter. That air is what lifts the cake. Don't cut this step short.
Step 4: Add the yolks and wet ingredients Add the 2 yolks one at a time, beating well after each. Then mix in the milk, lemon juice, and lemon zest. The mixture might look a little funny at this point, almost like it's curdled. That's completely normal. Once the flour goes in it comes right back together.
Step 5: Combine the dry ingredients In a separate bowl, whisk together the flour, baking powder, baking soda, and salt until evenly combined. Whisk it well so the leavening is evenly distributed throughout. No pockets of baking soda hiding in there.
Step 6: Bring wet and dry together Add the dry ingredients into the wet base in two additions. Mix in the first half, then the second. Mix gently and stop when it just comes together. When you overmix a batter like this you start building gluten. And gluten gives you structure, which sounds good, but in a light cake like this one it changes the texture and we want to keep this one light. So the less you work it the lighter the cake. A few streaks of flour are completely fine.
Step 7: Whip the egg whites Using clean beaters, whip the 4 egg whites on medium speed until foamy, then increase to high. Beat until stiff peaks form. When you lift the beater the white should hold a point that stands straight up without drooping. That's your signal. Stiff peaks look and feel silky, almost like shaving cream. If they start to look dry and chunky like cottage cheese, they've gone too far. Fresh whites, start again.
Step 8: Fold in the egg whites Here's where the magic happens. Add about a fourth of the whipped whites into the batter and stir it in fully. This just loosens things up and makes the rest of the folding easier. The batter will be thick at this stage. That's normal. Then add the remaining whites in three additions, folding gently with a rubber spatula. Slide down the side of the bowl, scoop along the bottom, fold up and over. Slow and deliberate. You'll see the batter transform from thick and doughy to something that actually looks like cake batter. Stop as soon as the white streaks disappear. That air in there is what makes this cake light so you want to keep every bit of it.
Step 9: Bake Pour the batter into your prepared pan and smooth the top gently. Bake at 350°F for 25 to 30 minutes. Start checking at 25. The cake is done when the top is set, the edges pull slightly from the pan, and a toothpick inserted in the center comes out with just a few moist crumbs. A clean toothpick means it went a little too long.
Step 10: Cool before cutting Let the cake cool in the pan for 10 minutes, then turn it out onto a wire rack. Let it cool completely before cutting, at least an hour. Use a long serrated knife, score around the outside first to mark your cutting line, then saw slowly. Don't press down. Let the knife do the work.
(Optional) Step 11: The Lemon Glaze Sift the powdered sugar into a bowl. Add 2 tablespoons of lemon juice and whisk until smooth. Add the third tablespoon if you want it thinner and more pourable. It should coat the back of a spoon but still drip slowly off it. Whisk in the zest if using. Pour over the cake while it's still warm so it soaks in slightly and becomes part of the cake rather than just sitting on top. It sets as it cools so don't worry if it looks runny at first.
If the cake feels a little dry after baking, the glaze fixes it. It soaks in and adds moisture back without changing anything else about the recipe.
How to Serve It
My grandpa kept it simple. Just the cake. No decoration, no flourish. That's how I made it the first time too, to honor how he always did it.
But if you want to dress it up, fresh fruit and a little whipped cream is all it needs. Raspberries, blueberries, thin sliced strawberries. Something bright to sit alongside something warm. It becomes a different cake entirely in the best way.
Either version is the right version. Make it the way that feels right for your table.
A Few Tips Before You Bake
Softened butter means your finger leaves an indent but the butter still holds its shape. Too cold and it won't cream. Too warm and it won't hold air. If you forgot to take it out, cut it into small cubes and let it sit on the counter for 20 minutes.
If you're using salted butter, skip the added salt in the recipe entirely.
The creaming step takes longer than most people expect. Stop when the mixture looks almost white. That's when you know the air is actually in there working for you.
The folding step is the most important technique in this recipe. Spatula, not a whisk. Slow and deliberate. The egg whites are your lift. Treat them carefully.
One Last Thing
This cake is not perfect. It never was. But that's kind of the whole point.
My grandpa didn't make this cake to impress anyone. He made it out of love for his family. And that's exactly what makes it worth baking, worth sharing, and worth passing on.
Every batch tells a story. I hope this one finds its way into yours.
Recipe developed from memory. Inspired by Ye Ye.