9 Little Things That Make Hand Pies Come Together
Let's begin here
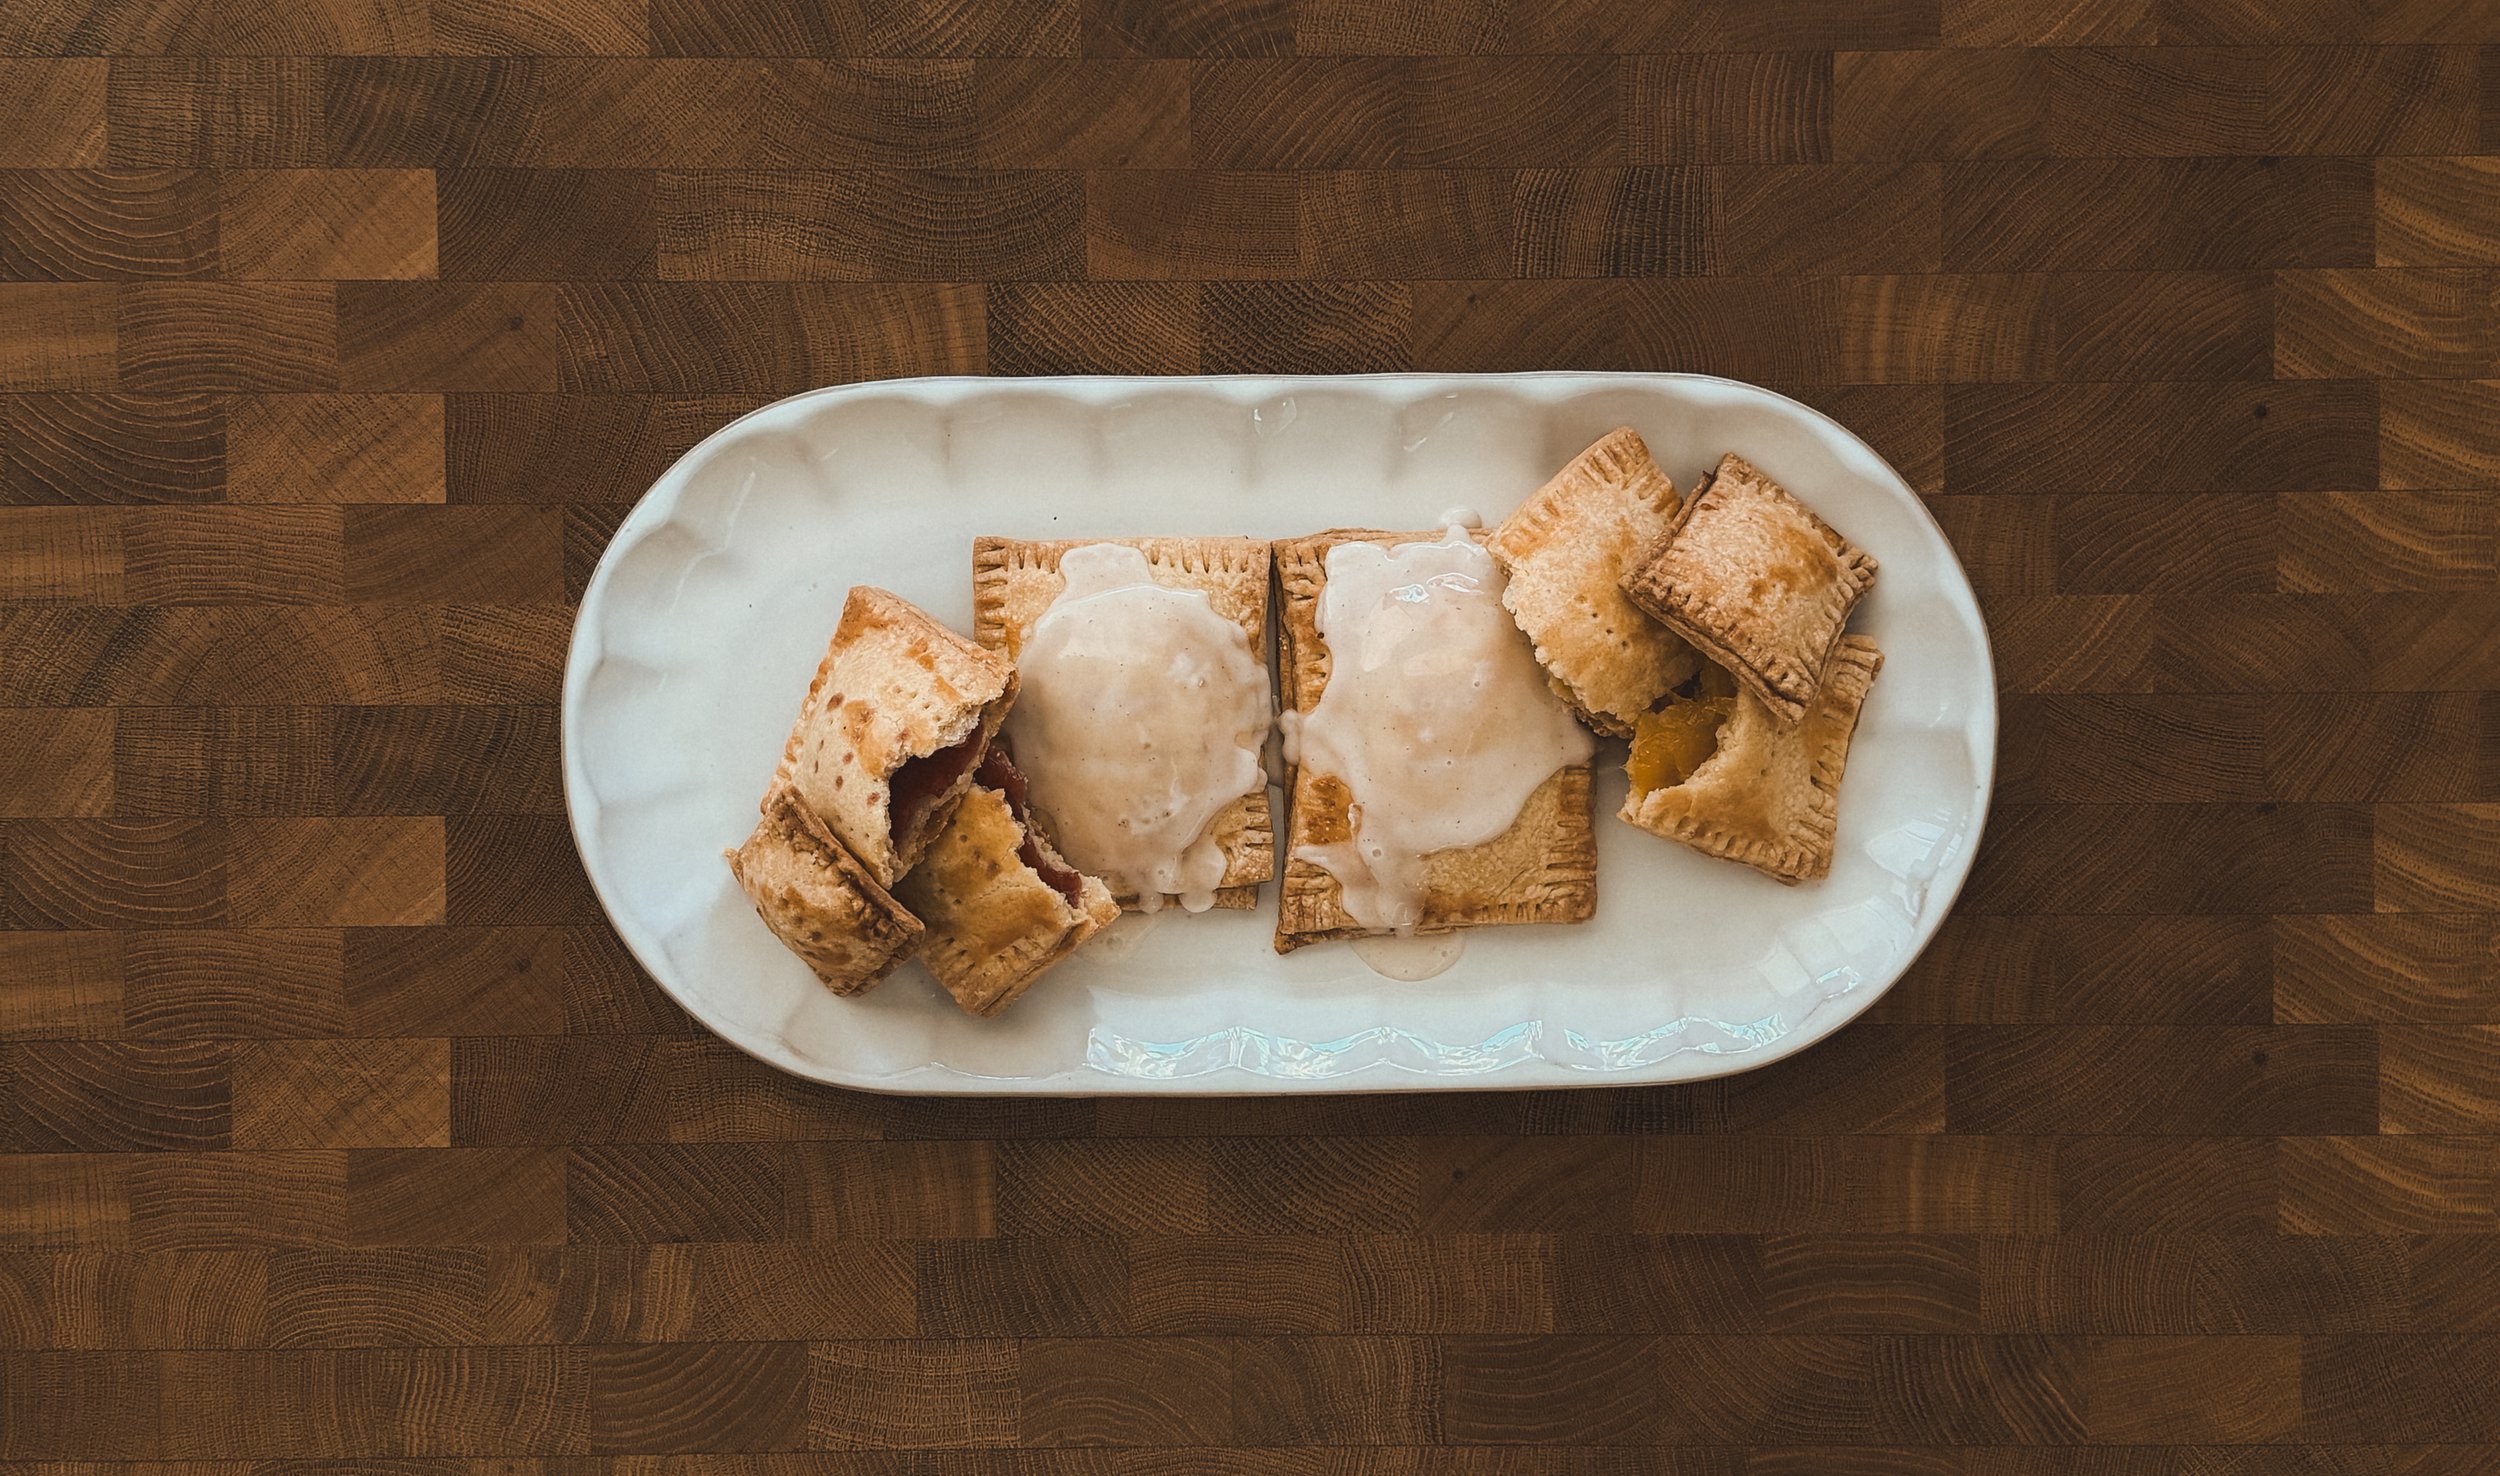
There’s something really satisfying about pulling a tray of hand pies out of the oven. The way they crimp up at the edges, the smell of warm butter and fruit filling the kitchen, the fact that you made something that looks that good from just a handful of ingredients.
These are the nine little things I picked up along the way that make that moment happen more reliably. Nothing complicated. No special equipment required. Just small shifts that make the whole process feel more natural and a lot more enjoyable from start to finish.
The recipe I’m working from is adapted from the Magnolia Table Volume 3 cookbook by Joanna Gaines. The original filling is strawberry, and it’s a really good one. But one day I had frozen mango in the freezer and decided to try it just to see what would happen.
It paid off more than I expected. The mango bakes into this golden, jammy filling that’s sweet with a little tropical warmth, and it’s the one I keep coming back to. Both flavors are worth making. But if you’re wondering which one I reach for first, it’s the mango every single time.
The Tips
Tip 1. Use a food processor.
If you have one, use it. A food processor cuts the butter into the flour quickly and evenly, and because it’s fast, the butter stays cold the whole time. Cold butter is where the flakiness comes from. The moment it warms up, those layers start to disappear. Your hands are warm. The food processor isn’t. That’s the whole reason it works so well here.
Tip 2. Layer the ingredients when you add them.
Instead of adding everything at once, try this: half the dry ingredients first, then the butter, then the rest of the dry ingredients on top. It sounds small but it makes a difference. The butter gets surrounded on both sides and the processor works through it more evenly. Less chance of one big clump that the blade misses.
Tip 3. Check for chunks and break them up.
After pulsing, take a peek inside the bowl. If there’s a larger piece of butter that didn’t fully break down, just use a butter knife to break it up before you add the egg and milk. It only takes a second. Those unprocessed pockets will show up later when the crust doesn’t come together the way you want it to, and you’ll wonder what happened.
One quick note: unplug the food processor before you do this step.
Tip 4. Use your hands to bring the dough together.
Once the egg and milk go in, your hands are the best tool you have. You can feel when the dough has just come together in a way that a fork or spoon just can’t tell you. You’re looking for it to hold when you press it, not sticky, not crumbly, just holding together. When it does that, stop. You’re done.
Tip 5. Wrap it before it goes in the fridge.
Wrap the dough in plastic wrap and flatten it into a rough square before it chills. This keeps the edges from drying out and helps the whole thing rest evenly. Think of it as giving the dough a little time to settle before you ask it to do anything. At least an hour in the fridge, and it’ll roll out so much more cooperatively on the other side.
Tip 6. A pizza cutter is your friend here.
When it’s time to cut your dough into rectangles, a pizza cutter rolls through cleanly without dragging or pulling. A knife works too, and so does a bench scraper. What you want to avoid is anything that tears or tugs at the dough, because that undoes the layers you worked to keep. One smooth press and roll is all it takes.
Tip 7. Don’t throw away the scraps.
Those edge pieces you trim off? Keep them. Press them together gently, roll them out, and you’ve got enough for a few mini pies. Same bake time, same filling, no waste. The little ones are honestly one of my favorite parts of this whole bake. Just go gently when you press them together. Squeezing too hard warms the butter and flattens the layers before they even make it to the oven.
Tip 8. Build your pies right on the tray.
Transfer your cut dough pieces to the parchment-lined sheet pan before any filling goes on. Once the filling is there, trying to move them is really hard without everything shifting and making a mess. Setting up on the tray first also means you’re handling the dough less overall, which is always a good thing for keeping everything cold and intact.
Tip 9. With the scraps, gentle is everything.
This one is worth its own tip because it’s easy to rush when you get to the scraps. You’ve already done the main batch and you’re excited about the mini pies. Take a breath. Press gently, don’t squeeze. Roll from the center out just like you did the first time. The patience here is what keeps the crust tender and the layers doing their thing in the oven.
You’ve got this
Nine small things. That’s really all it takes to make this bake feel a lot more doable from the start.
If you want to watch the full bake, I walk through everything over on YouTube, both the mango and strawberry versions from start to finish. It helps to see it all come together in real time.
The best bakes start as a daydream. This one's yours.
Ingredients
Crust
2 cups flour
2 tablespoons sugar
1 teaspoon salt
16 tablespoons unsalted butter
2 tablespoon milk
1 egg
Filling
2 cups frozen fruit of your choice
1/3 cup sugar
2 tablespoons cornstarch
Glaze (my version of the glaze)
Personal preference on the glaze recipe. I wanted something that would set and turn the hand pie into a more pop tart feel.
1/2 cup powdered sugar
1 tablespoon whole milk
1/4 teaspoon vanilla bean paste