9 Things I Learned Baking Cinnamon Rolls
Let's Begin Here
Cinnamon rolls have a reputation for being complicated. And honestly, the first time you make them, it can feel that way. There are multiple rises, a few steps that feel unfamiliar, and a lot of moments where you're just trusting the process and hoping for the best.
But here's what I've learned: cinnamon rolls are actually more forgiving than they look. The dough is enriched with butter and egg, which makes it gentler to work with than a lean bread dough. The filling is flexible. The frosting is hard to get wrong. And most of the things that trip people up have simple, practical solutions.
I made this recipe from Chelsea's Messy Apron and along the way I picked up nine things I wish I'd known before I started. Some of these are technique tips. Some are things to watch for. And a couple are just my personal preferences, clearly labeled as such, that changed the recipe in a way I loved.
If you're making cinnamon rolls for the first time or the fifth time, I hope something here makes the process feel a little more approachable.
The Tips
Tip 1. Use a Thermometer on the Milk
The recipe calls for warmed milk and the temperature matters more than it might seem. You're looking for somewhere between 100 and 110 degrees Fahrenheit. That range is the sweet spot for getting the yeast active and ready to work.
A thermometer is the most reliable way to know you're there. It takes the guesswork out of one of the earliest steps and sets the whole bake up well from the start.
Tip 2. Give the Yeast Time to Foam
Once you've added the yeast and sugar to the warm milk, give it time. It can take up to 15 minutes to foam properly. That foam is your signal that the yeast is alive and active.
If the mixture doesn't foam at all, the yeast is likely old or the milk was a little too warm. The fix is straightforward: start fresh with a new packet of yeast before moving forward. Catching this early saves you from finding out later in the bake.
A foamy, bubbly mixture is a happy one. That's exactly what you're looking for.
Tip 3. Start with the Paddle, Finish with the Hook
This one made a real difference for me. When you first add the wet ingredients to the dry, the mixture is shaggy and uneven. Using the paddle attachment for the first few minutes helps bring everything together more gently before the real kneading begins.
Once the dough is starting to come together, switch to the dough hook and mix until the dough wraps around it and pulls away from the sides of the bowl. That's when you know the gluten has developed enough and the dough is ready to rest.
Tip 4. Grease Your Proofing Bowl
A small step that's easy to skip and worth not skipping. Before the dough goes in for its first rise, make sure your bowl is lightly greased. It keeps the dough from sticking as it rises and makes it much easier to turn out when you're ready to shape it.
A little butter or a light spray of oil is all you need. Run it around the inside of the bowl and you're good to go.
Tip 5. Wait for the Dough to Actually Double
The recipe will give you a time range for proofing and that range is a guide, not a guarantee. Every kitchen is a little different. Temperature, humidity, and even the age of your yeast all affect how quickly the dough rises.
What you're actually waiting for is the dough to double in size. That visual cue is more reliable than the timer. When it's there, it's ready. When it isn't, give it more time.
For a deeper look at proofing, including the poke test that tells you exactly where your dough is, head over to the Real Talk post on overproofing.
Tip 6. Proof in a Turned-Off Oven
If your kitchen runs cool or you just want a more controlled environment for the rise, this is the method I use. Preheat your oven to its lowest baking setting, then turn it fully off before the dough goes in.
The residual warmth inside creates a consistently warm, draft-free space that gives the yeast exactly what it needs. It works for both the first rise and the second rise in the pan. Just make sure the oven is fully off before the dough goes in. You want that gentle warmth, not active heat.
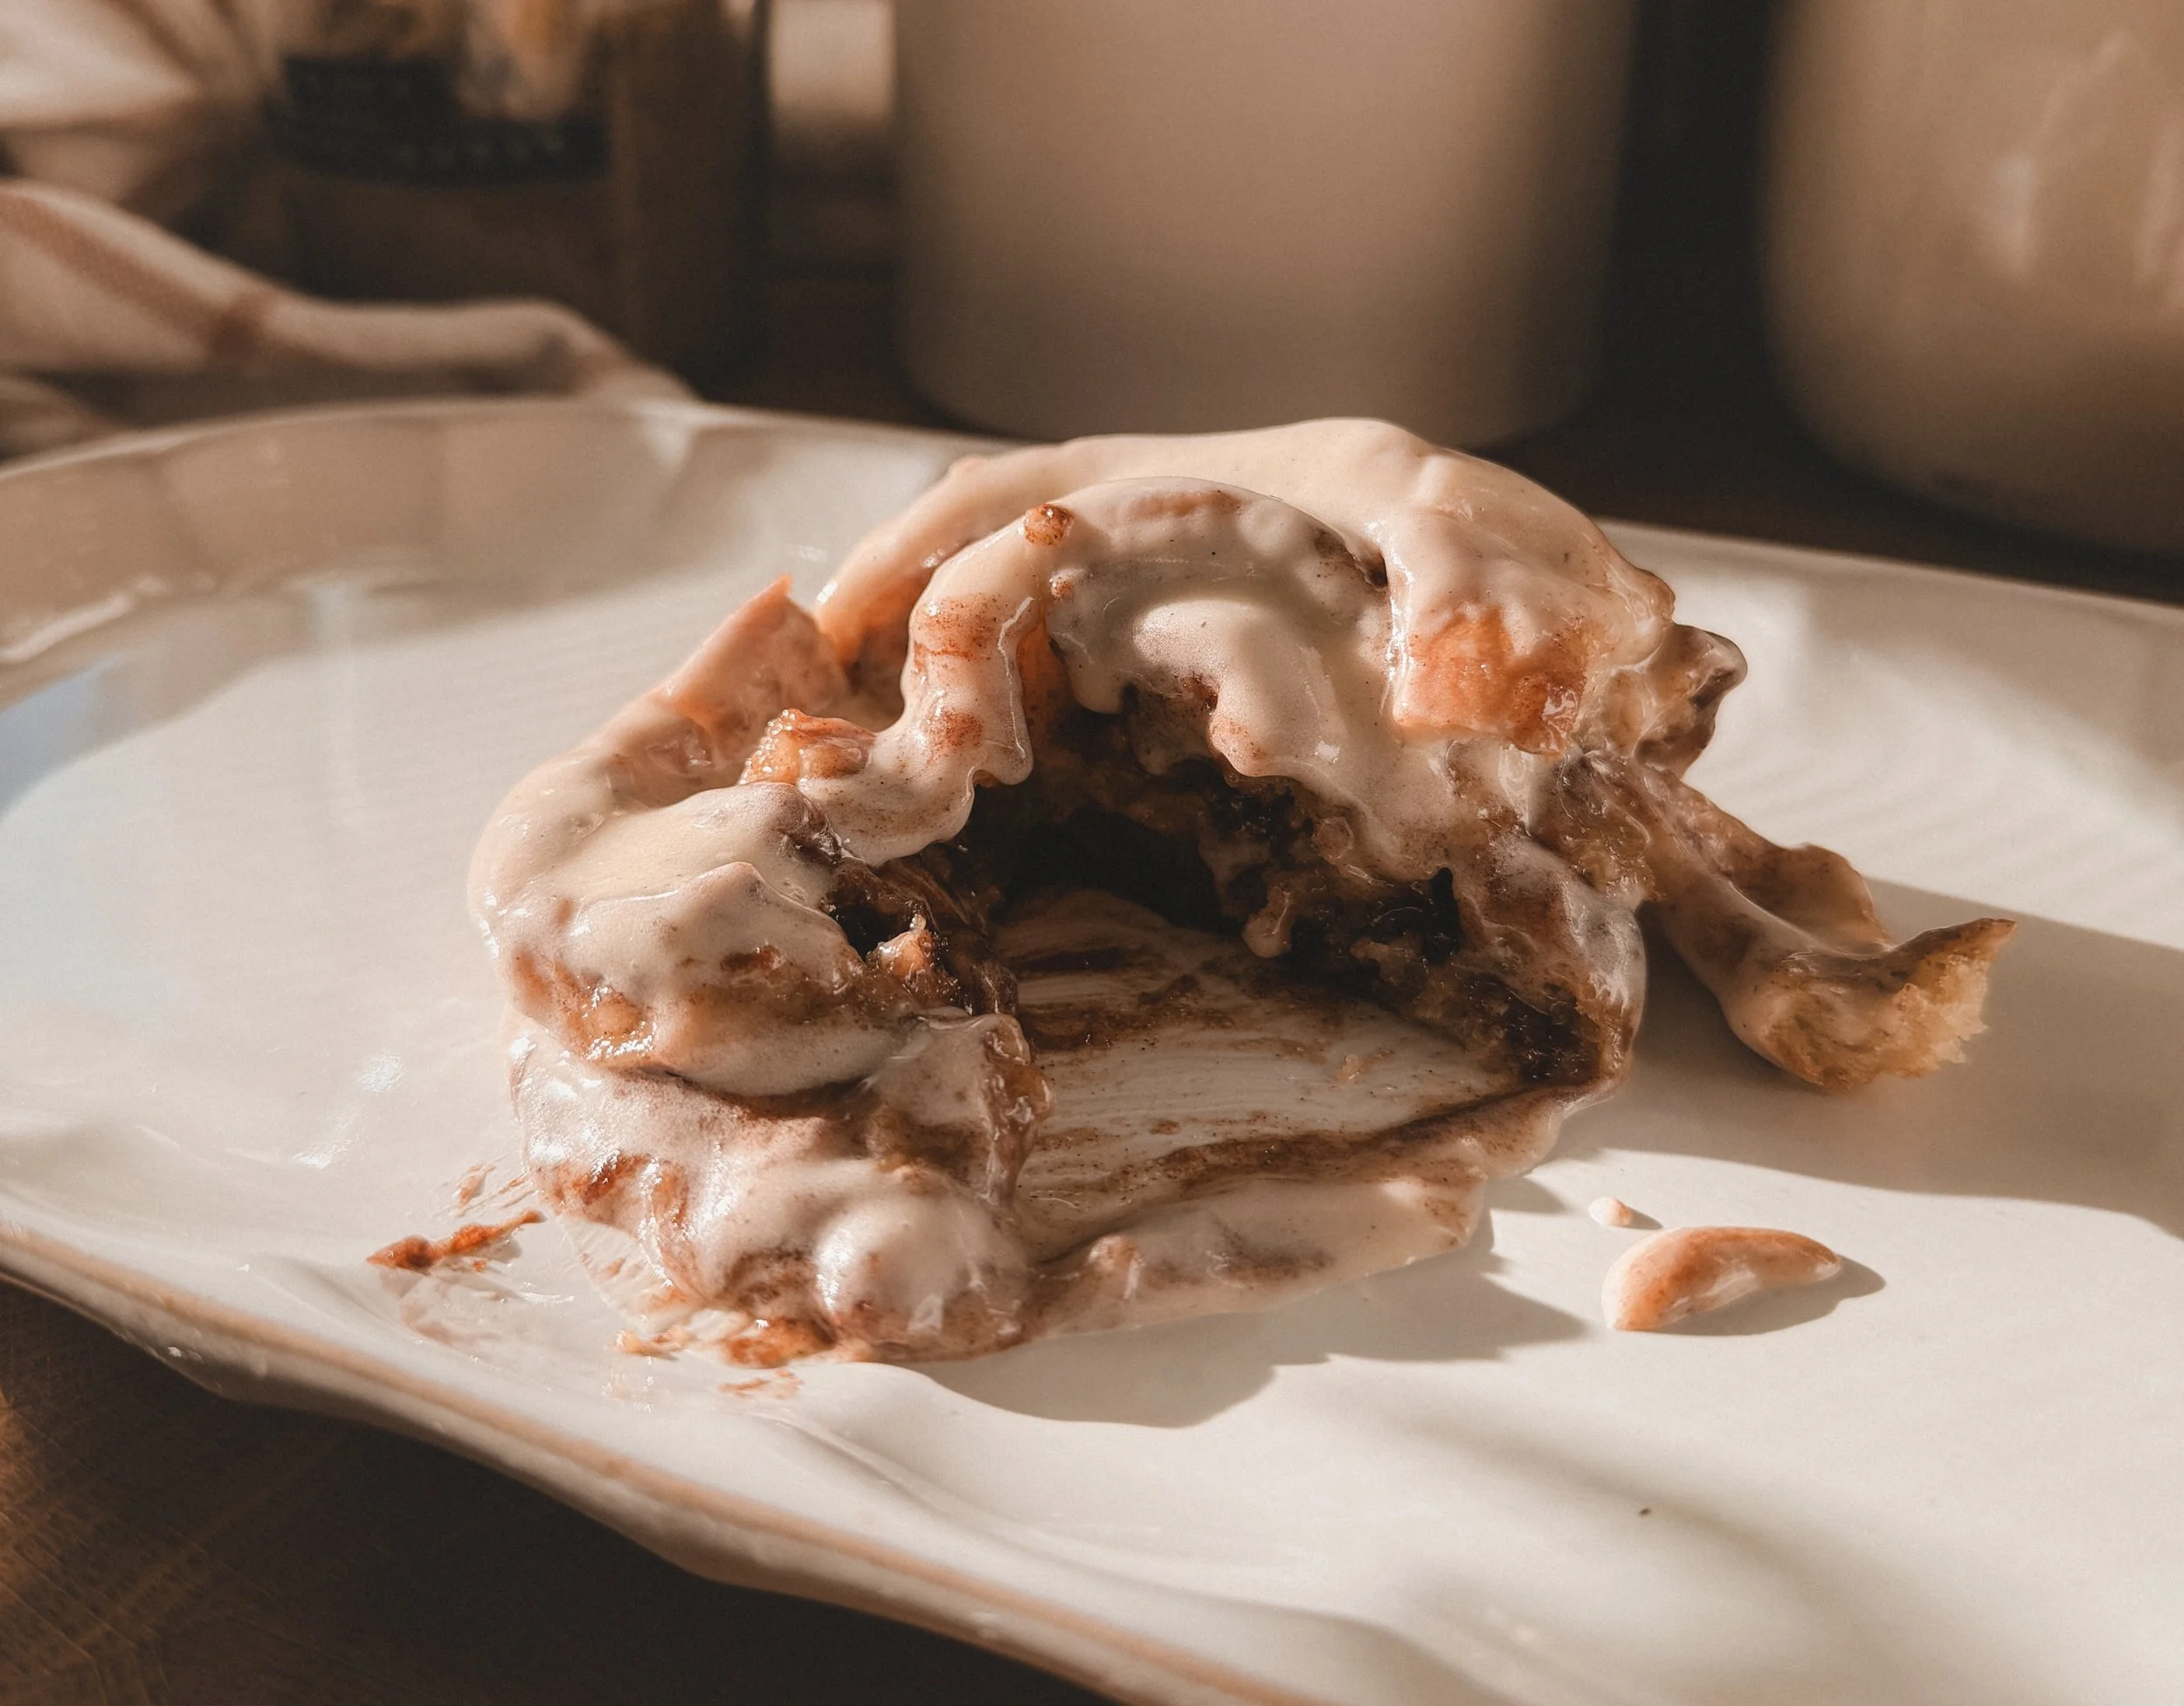
Tip 7. Fill It All the Way to the Edges
Personal preference. Chelsea's Messy Apron's recipe is wonderful exactly as written. What I changed is the amount of filling. I use 1.5 to 2 times the recipe amount and I spread it all the way to every edge of the dough.
Here's what that actually does to the end result. More filling means more of that gooey caramelized layer in every bite. The brown sugar and cinnamon melt into the dough as it bakes and create a richer, more intense cinnamon flavor throughout. The rolls become a little stickier, a little more indulgent, and noticeably more layered in flavor from edge to center.
If you prefer a lighter, more dough-forward roll where the filling is present but not overwhelming, stick with the original amount. Both are genuinely good. It just depends on what you love.
More filling doesn't just change the look. It changes the flavor. Know what you're going for before you spread.
Tip 8. Pour the Heavy Cream Before Baking
This is the step that surprised me most when I first saw it and the one I'd never skip now. Right before the rolls go into the oven, pour one third cup of slightly warmed heavy cream over them.
As the rolls bake, the cream gets absorbed into the dough and the filling. It keeps the bottoms from drying out and creates that soft, saucy layer underneath each roll. That gooey bottom isn't just from the filling. The cream is doing that too.
Warm the cream slightly before you pour it. Not hot, just warm. You've spent time building warmth in that dough and cold cream straight from the fridge drops the temperature right before the oven. One small step that makes a real difference to the final texture.
Tip 9. More Frosting Is Always the Answer
Personal preference. Same approach as the filling. The cream cheese frosting in Chelsea's recipe is already really good. I just use 1.5 to 2 times the amount and spread it over the rolls while they're still warm.
Here's what more frosting does. When you spread a generous layer over warm rolls, it melts slightly into every layer and every swirl. The cream cheese flavor becomes part of the roll rather than just sitting on top of it. The result is richer, creamier, and a little more decadent in every bite.
If you prefer a lighter touch where the frosting is a finish rather than a feature, the original amount is exactly right. But if you want that cream cheese to be part of every single bite from the first layer to the last, more is a good idea.
“Spread it while the rolls are warm. That warmth is what lets the frosting melt into the layers rather than just coat the top.”
Before You Go
Cinnamon rolls ask a little more of you than a batch of cookies. There are more steps, more waiting, more moments where you're trusting a process you can't fully see. But that's also what makes them so satisfying when they come out right.
Every tip in this list is something that made the process feel more manageable for me. Not rules, not requirements, just things worth knowing. Take what's useful. Leave what isn't. And make the recipe your own.
The full recipe comes from Chelsea's Messy Apron and I'd encourage you to go check out her work. What I've shared here is just what I learned along the way in my own kitchen.